In this blog I am looking at a long awaited feature in SharePoint, the Brand Center, I’ve been wanting this feature for a long time, and whilst it’s still in its infancy I know once all the features are in it will add so much value to the design elements of SharePoint sites.
The SharePoint Brand Center is a designed to be a central place where you can handle all your brand assets:
- Logos
- Corporate images
- Document templates to be used in office applications
- Organization fonts to be used in the SharePoint sites.
Setting up Brand Center
To setup the brand center (You will need to be a Global Admin):
1. Browse to the Microsoft 365 Admin Center (https://admin.microsoft.com)
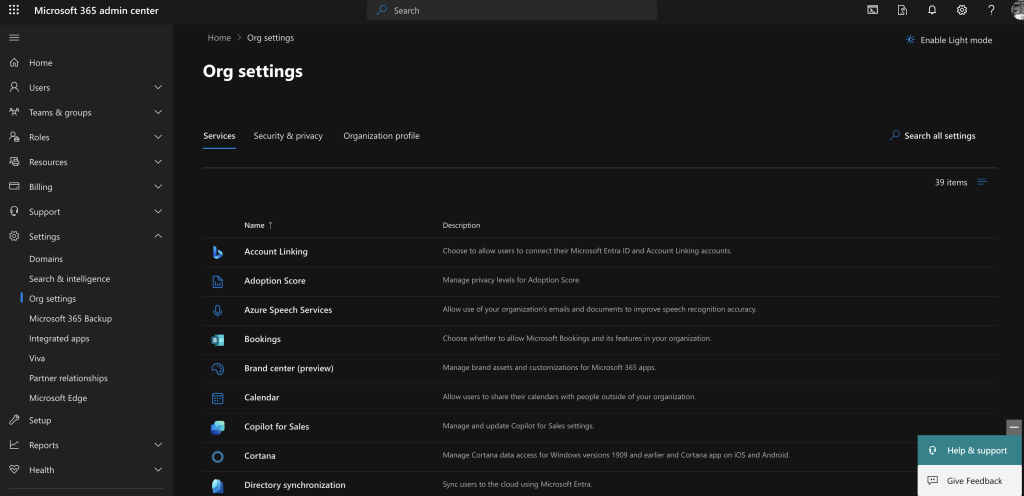
2. Browse to Settings and then Org settings in the admin center
3. Select Brand center (preview)
4. You’ll need to name your Brand Center site. In this example I’ve kept it the defauly name of Brand Guide, but you can rename this to suite your organisation.
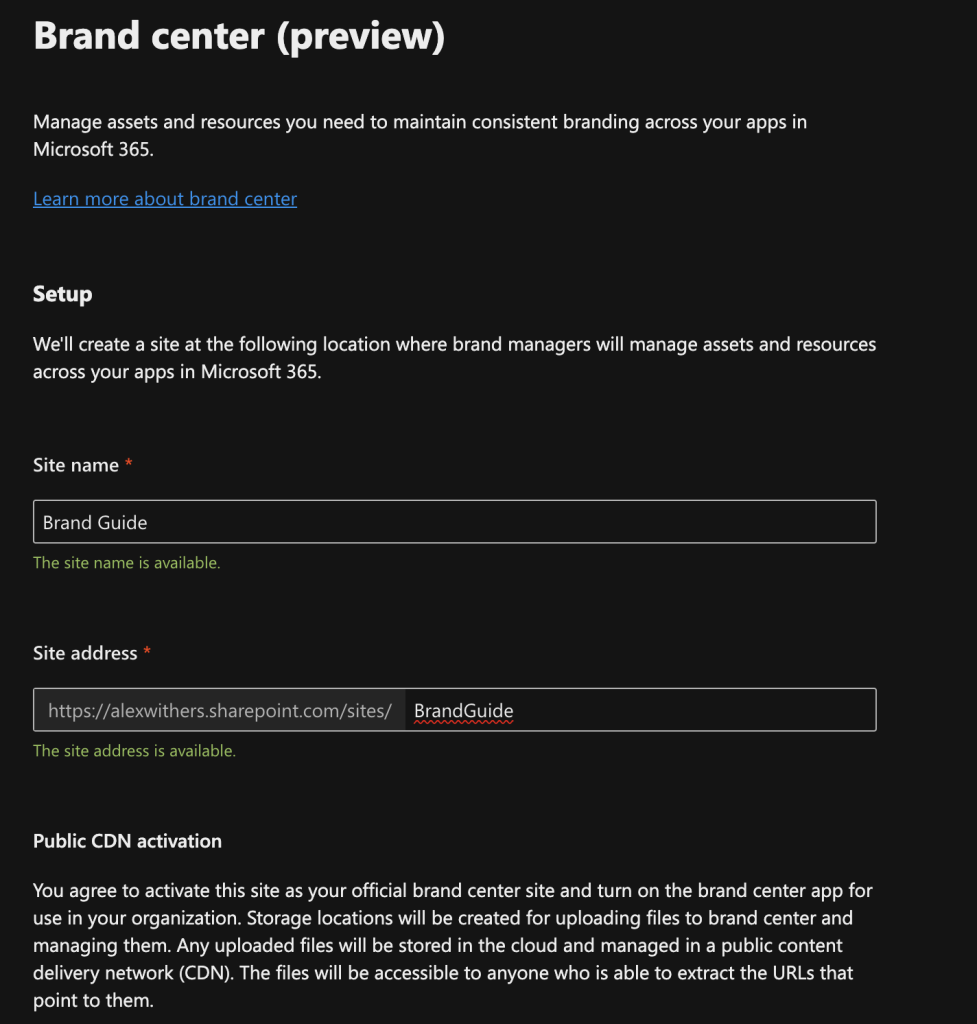
5. Select the agree to use Public CDN tick box, followed by clicking the Create site button.

The brand center sharepoint site and app will now be created, once complete the page will display similar to the below.
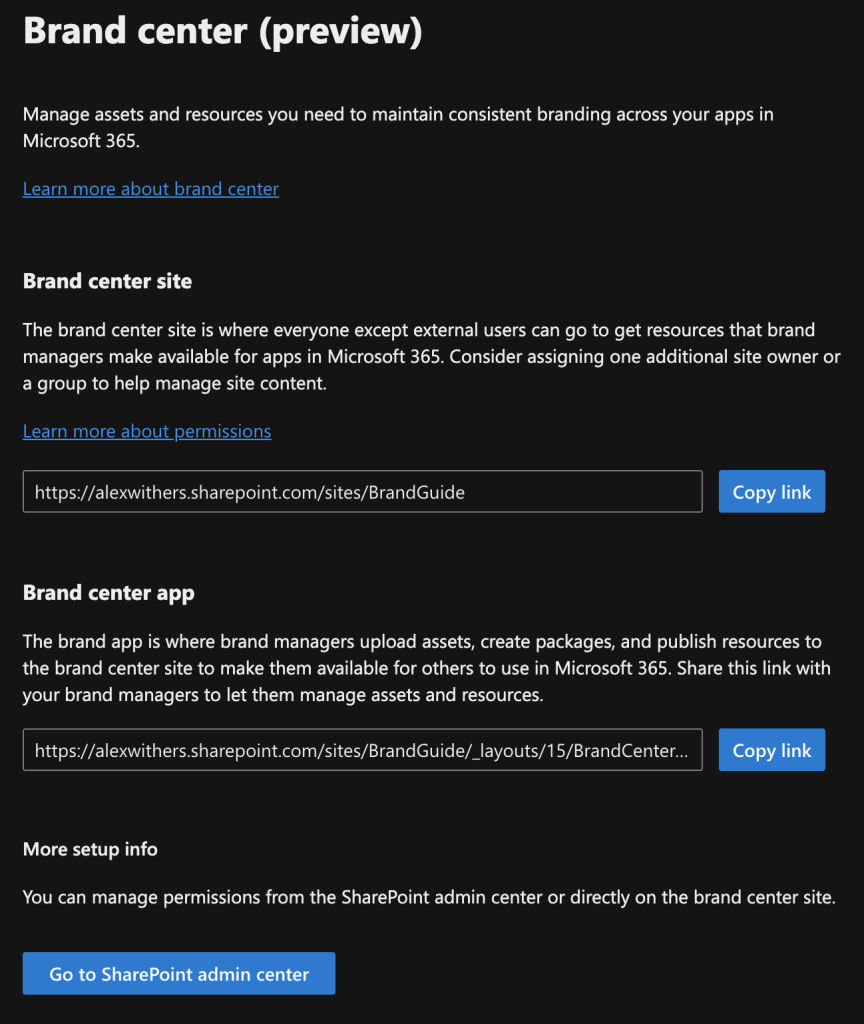
You can now upload all your branding assets to the generated SharePoint site for your organisation to use

Uploading Organisation Fonts to Brand Center
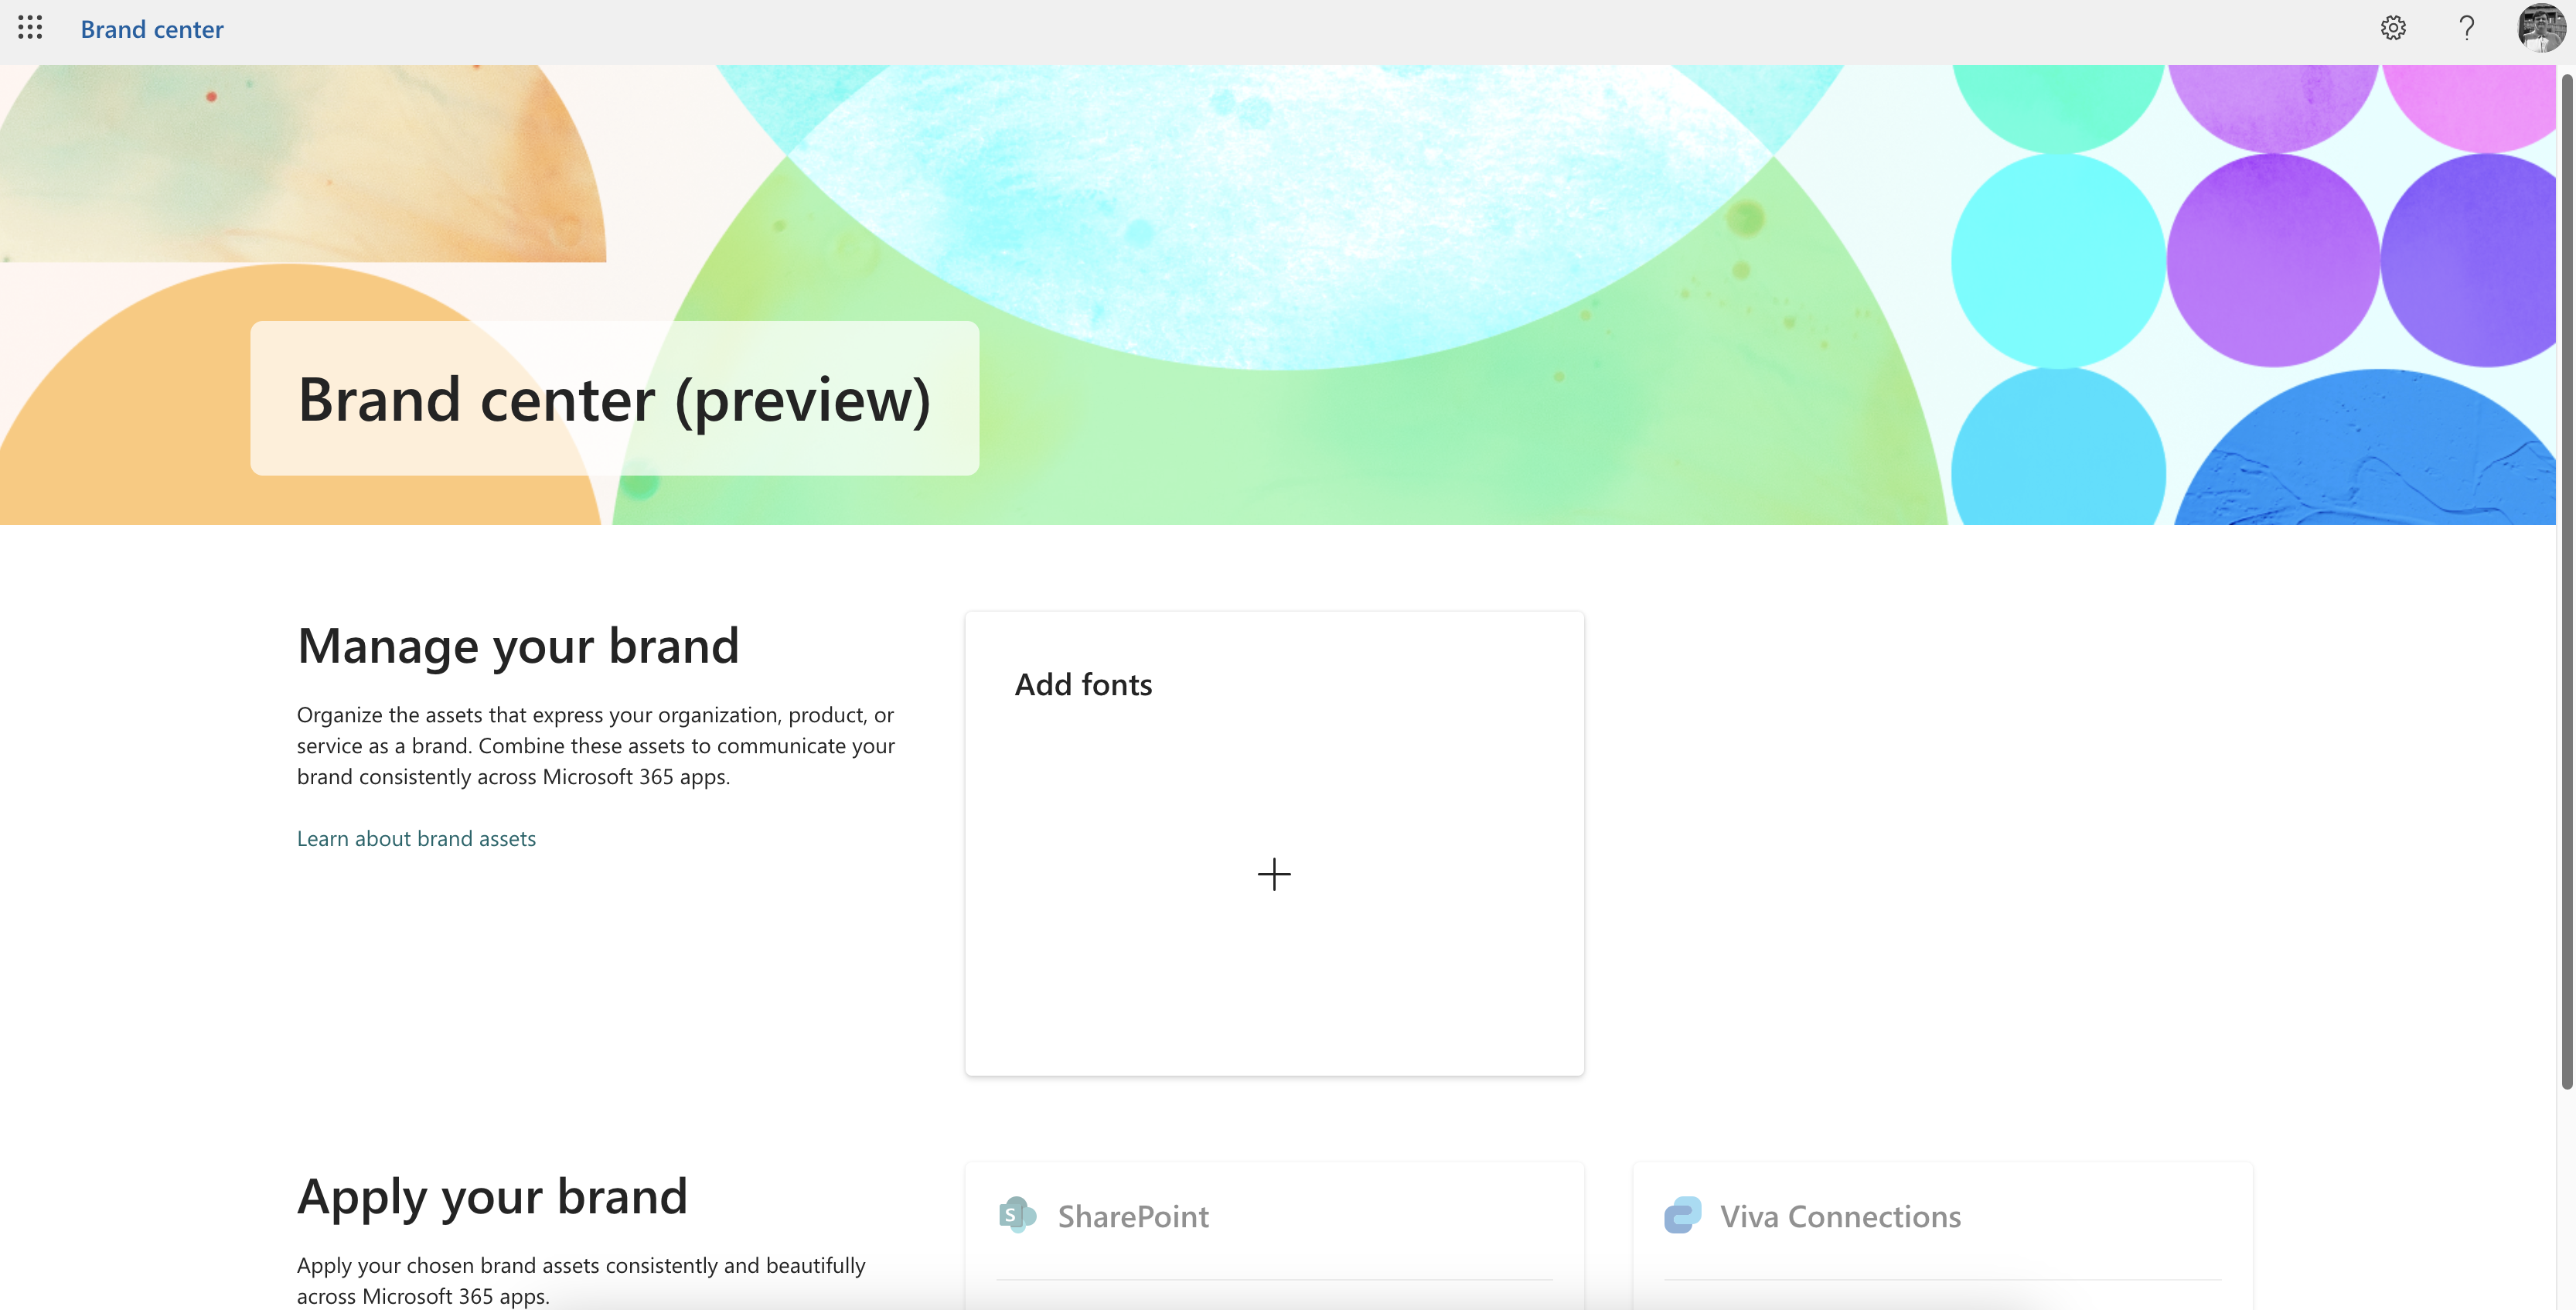
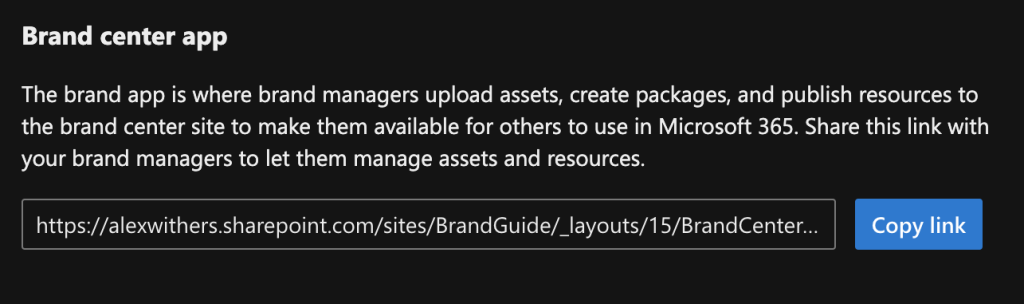
1. At the moment, the only customisation you can do the SharePoint from the Brand center, is uploading fonts. You will need to open the Brand center app, Select the Copy link button and copy this URL into another tab.
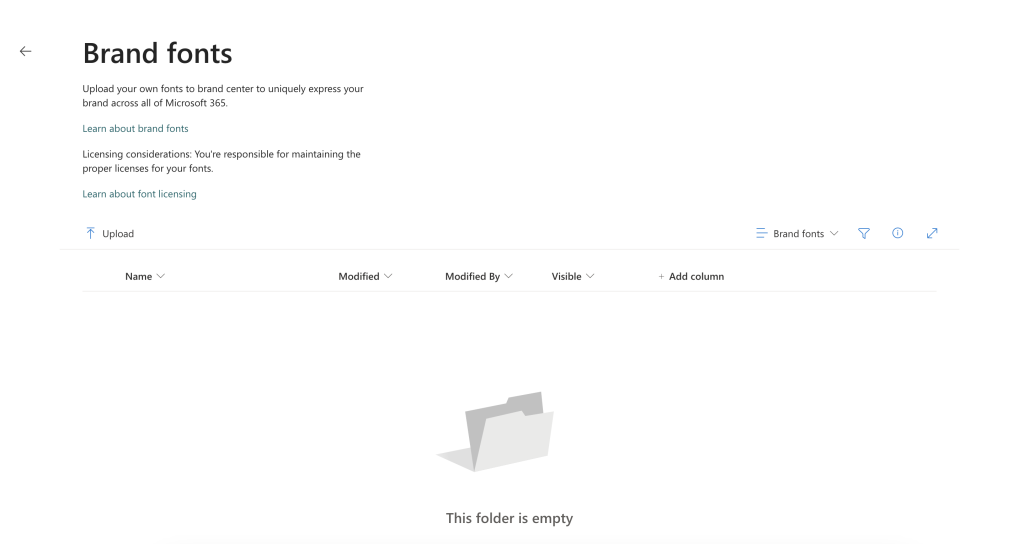
2. The brand center app will now open, Select Add fonts section within the Manage your brand section.

3. Select the Upload button.
4. Browse to where you have your font files stored on your local machine, Select all the files and select Open.
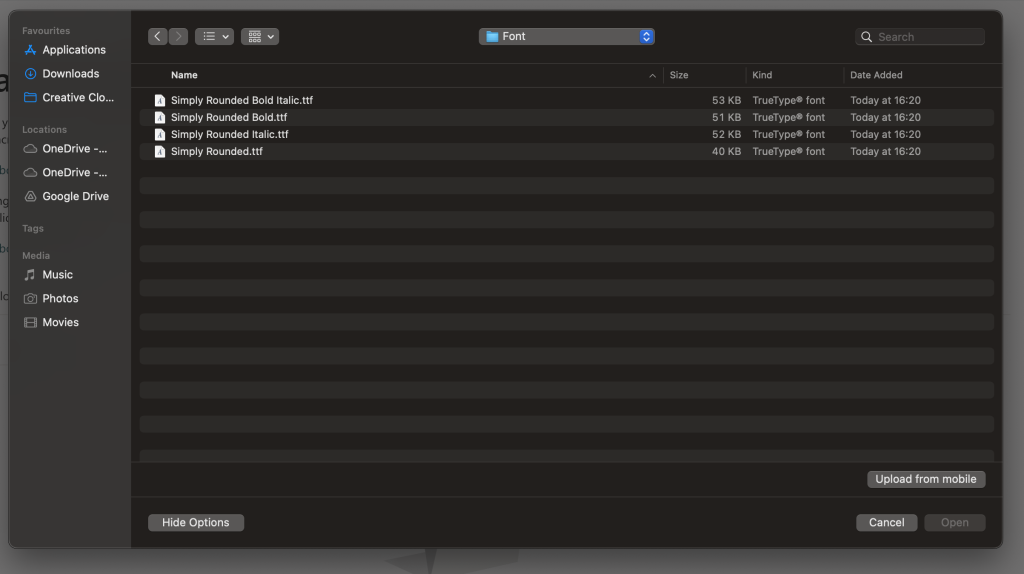
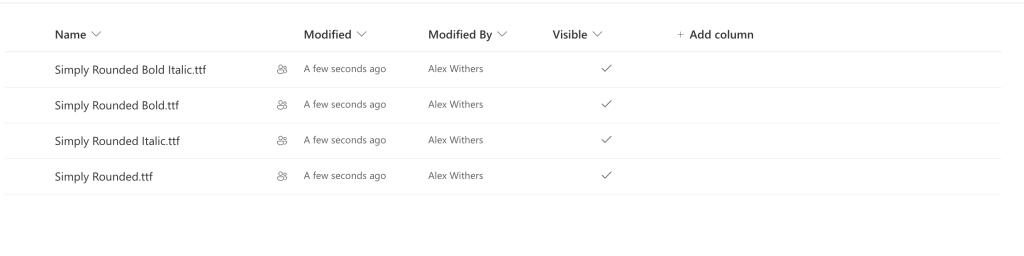
The files will now upload.
5. Now browse back to the main Brand Center app page and select SharePoint from the Apply your brand section.

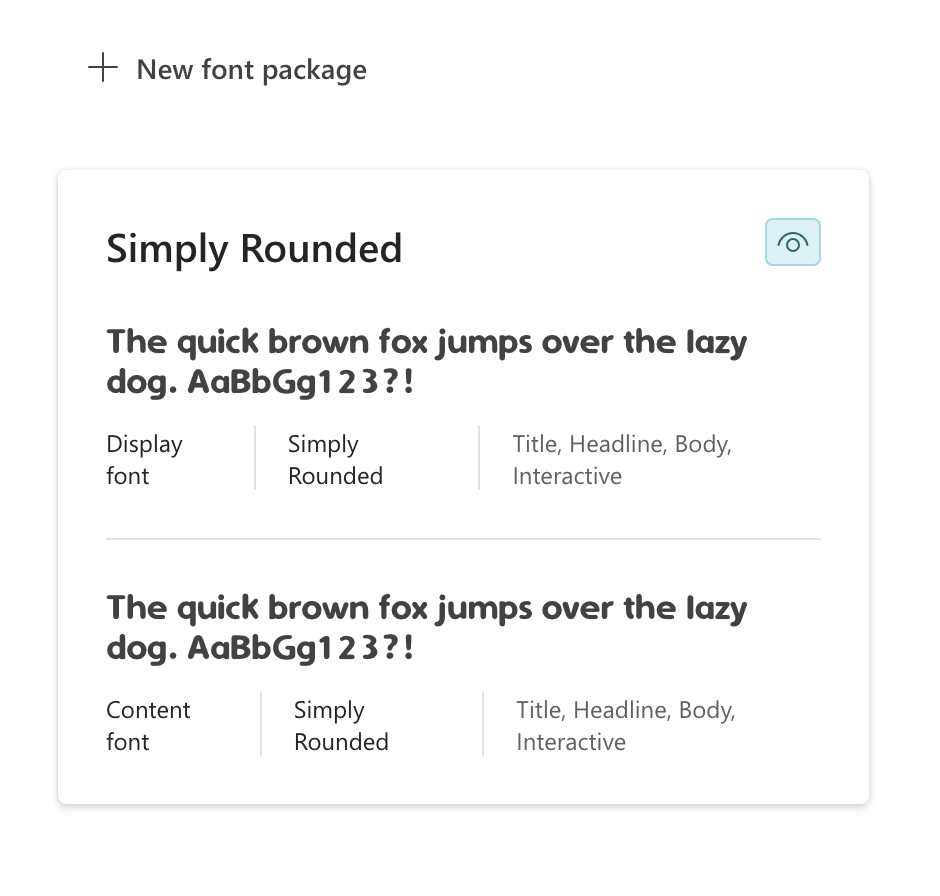
6. Select the “+ New font package” button
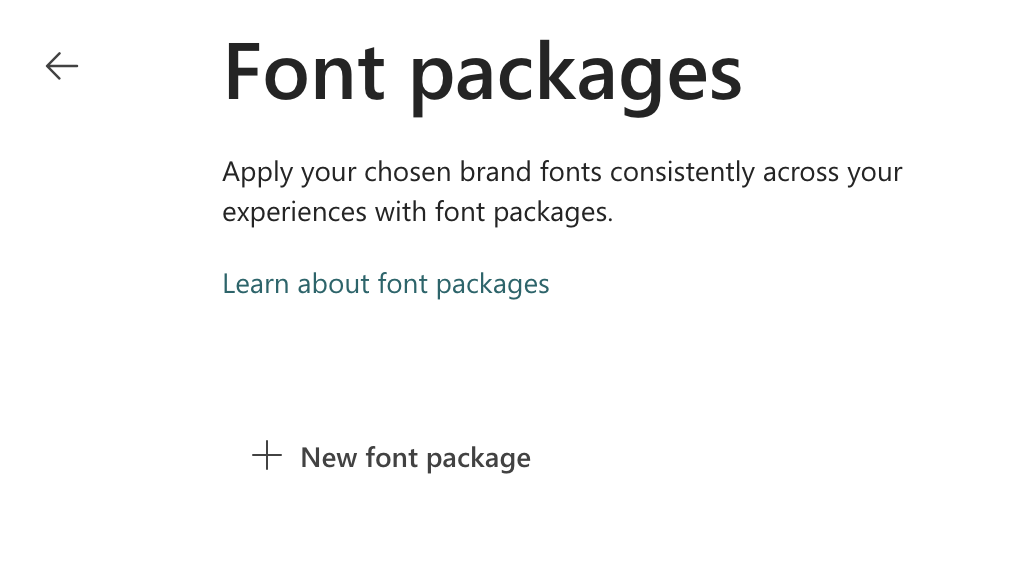
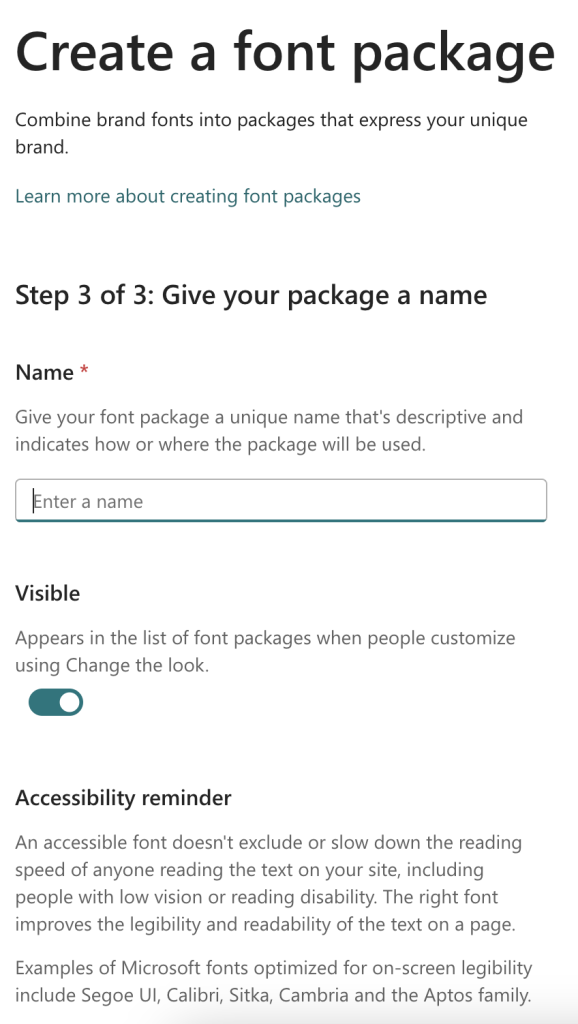
This will display the create a font package page.
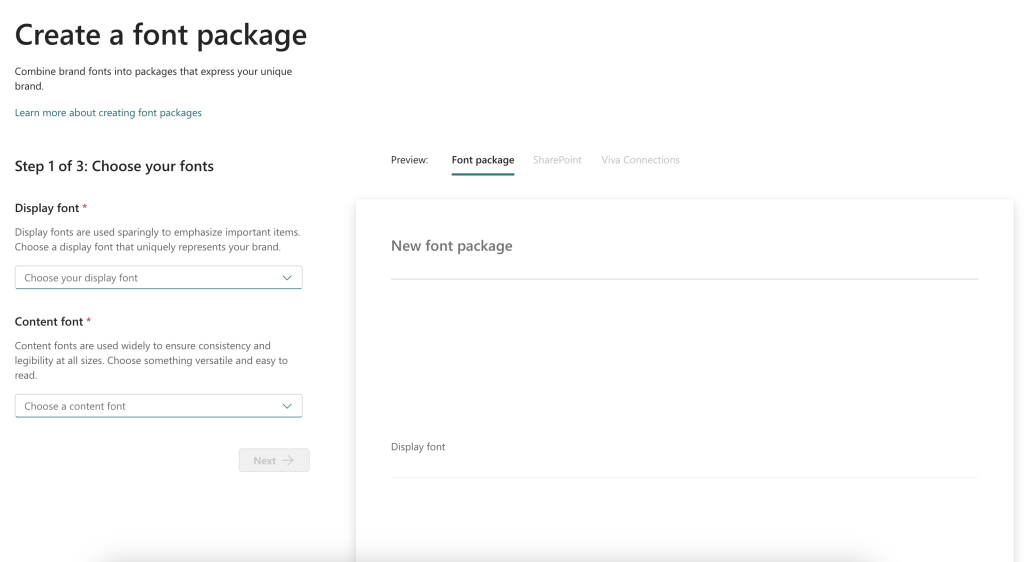
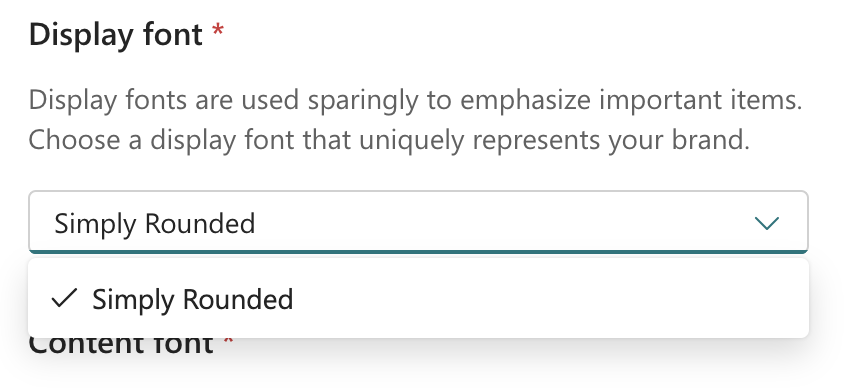
7. Under the Display font section, select your organisation font from the dropdown list.
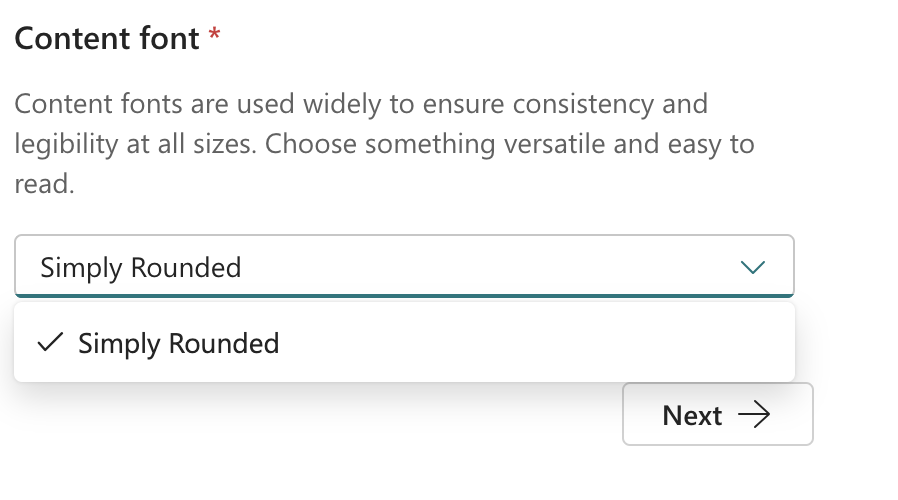
8. Under the Content font, select your organisation font from the dropdown list, followed by Next.
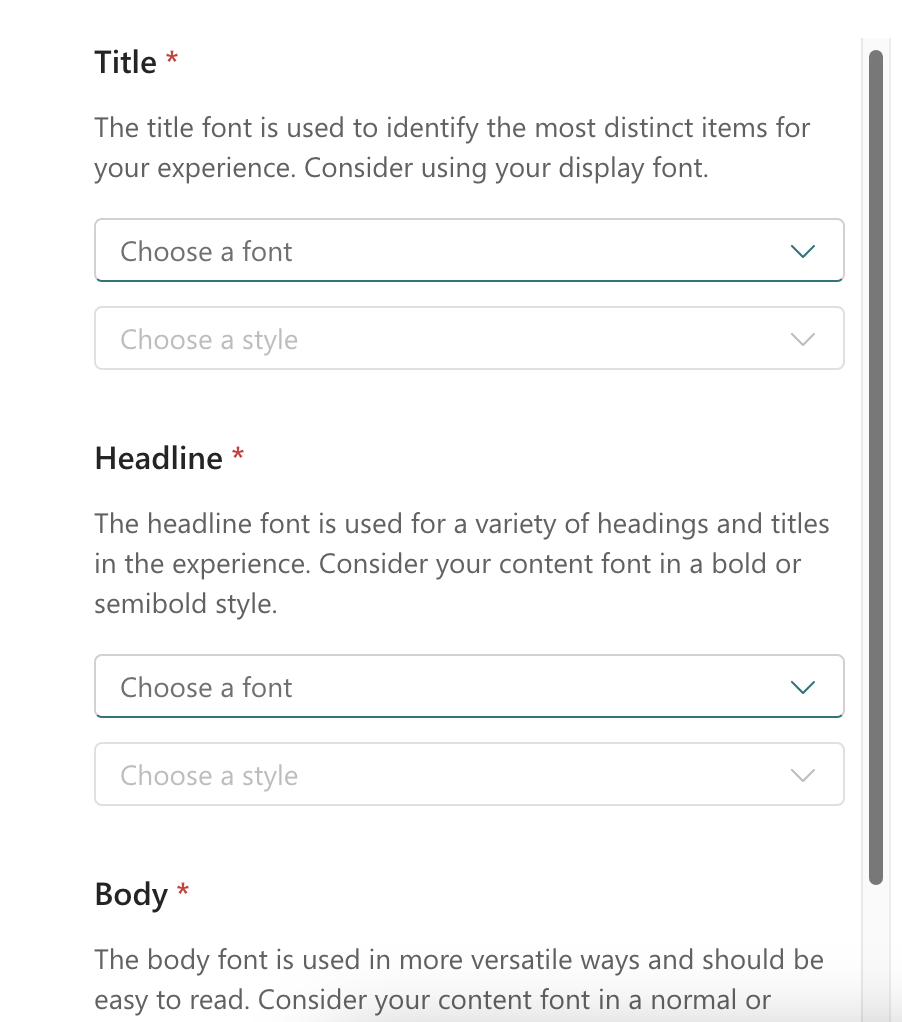
9. Select the specific font for the Title, Headline & Body, followed by Next
10. Add a name to the package of fonts you’ve created, I would recommend either calling it the font name or Company Name Font so thats easily identifable for your SharePoint site admins/owners.
The font package will now be displayed
Adding Fonts to SharePoint Site
1. Now that the fonts have been uploaded, you will now be able to add them to your SharePoint sites, to give them your branding feel. Browse to your SharePoint site.
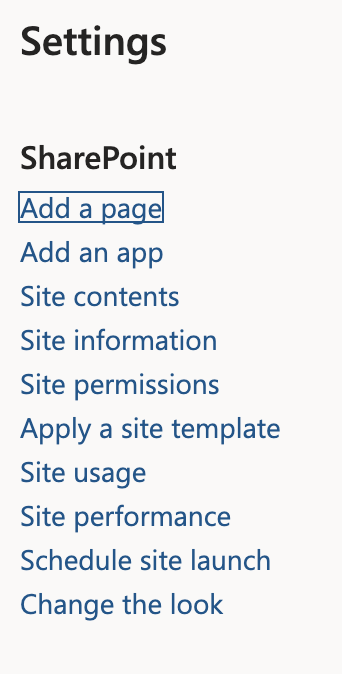
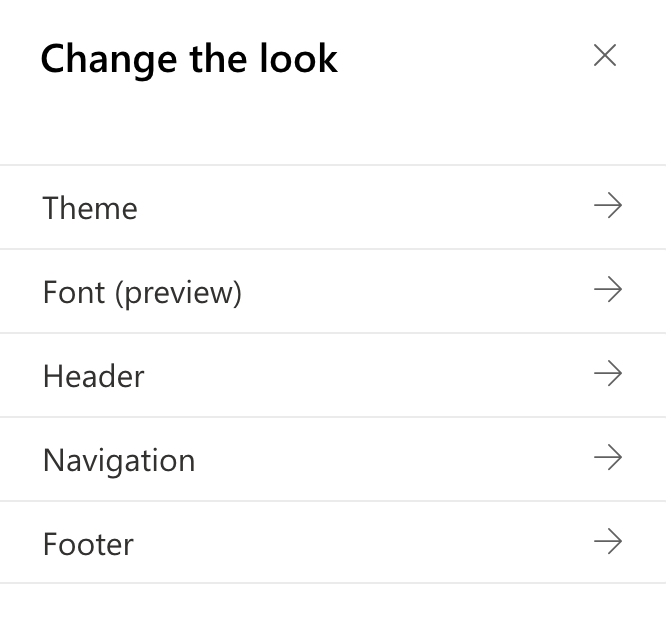
2. Select the Settings button at the top of the screen to open the Settings menu, followed by selecting the Change the look link.
3. Select the Font (preview) section.
4. In the dropdown menu, select the font package you created in the Brand Center app.
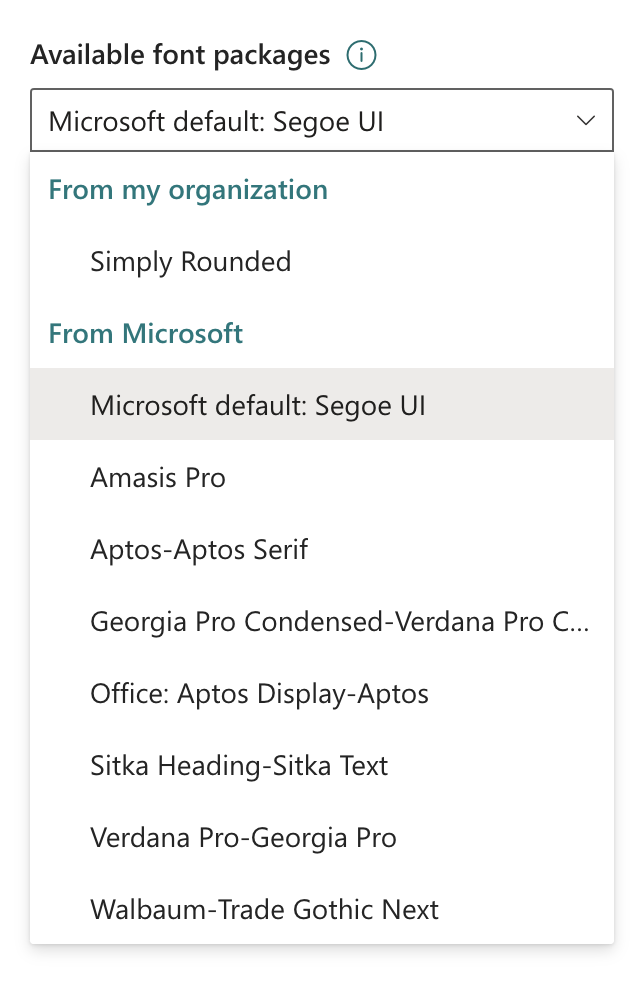
5. Click Save

The SharePoint site will now show the organisation font, you will need to repeat these steps for each SharePoint site.

Comments are closed