
I have mentioned in my previous blogs how much I am a fan of SharePoint and M365 in general, but something that I haven’t touched upon is the Power Platform, specifically Microsoft Power Automate which I am going to cover in this in this blog.
In my previous blogs, I’ve shared my enthusiasm for SharePoint and Microsoft 365. Today, I am going to delve into another powerful tool within the Microsoft ecosystem: Microsoft Power Automate.
Microsoft Power Automate helps you create automated workflows between different apps and services to synchronise files, get notifications, collect data, and more. It enables users to streamline repetitive tasks and processes, making work more efficient and productive.
It has been a powerful tool that I’ve used in both my proffesional and personal life, in this blog I am going to a talk about a very simple use to track responses from a Microsoft Form into a SharePoint list, whilst Microsoft Form does offer the capability of adding a responses to a spreadsheet, depending on the use case a SharePoint list can offer different capabilities which I’ve mentioned in previous blogs. In future blogs, I am going to cover a more in depth use cases of using the Power Platform in combination with M365.
Outside of being the Head of Technology at Shine, I do a lot of volunteering and have done a lot of work with charities so for my example I am going to collect / track Volunteer Information. (Please note you can also create a brand new form from a new SharePoint list, but if you already have an existing form continue to follow these steps)
1. The first step is creating the Microsoft Form, browse to https://forms.microsoft.com
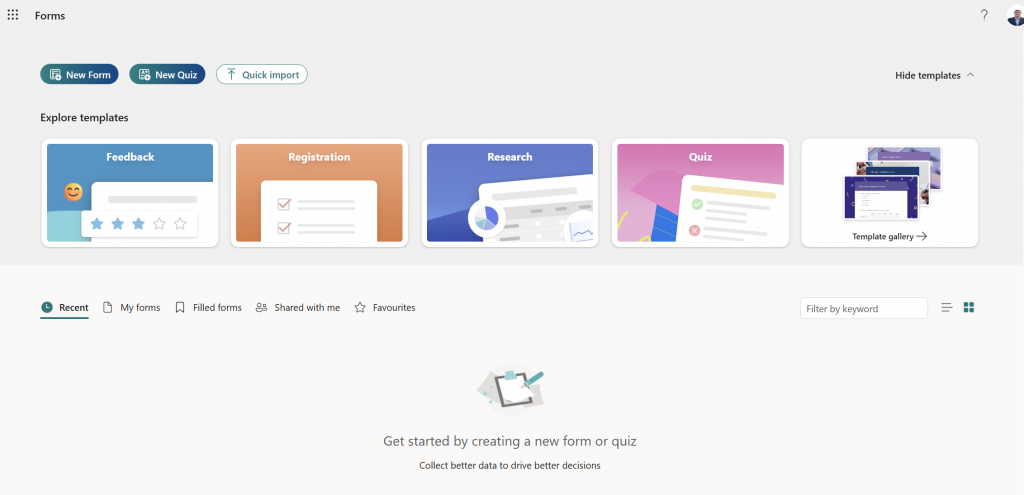
2. Select the New Form button

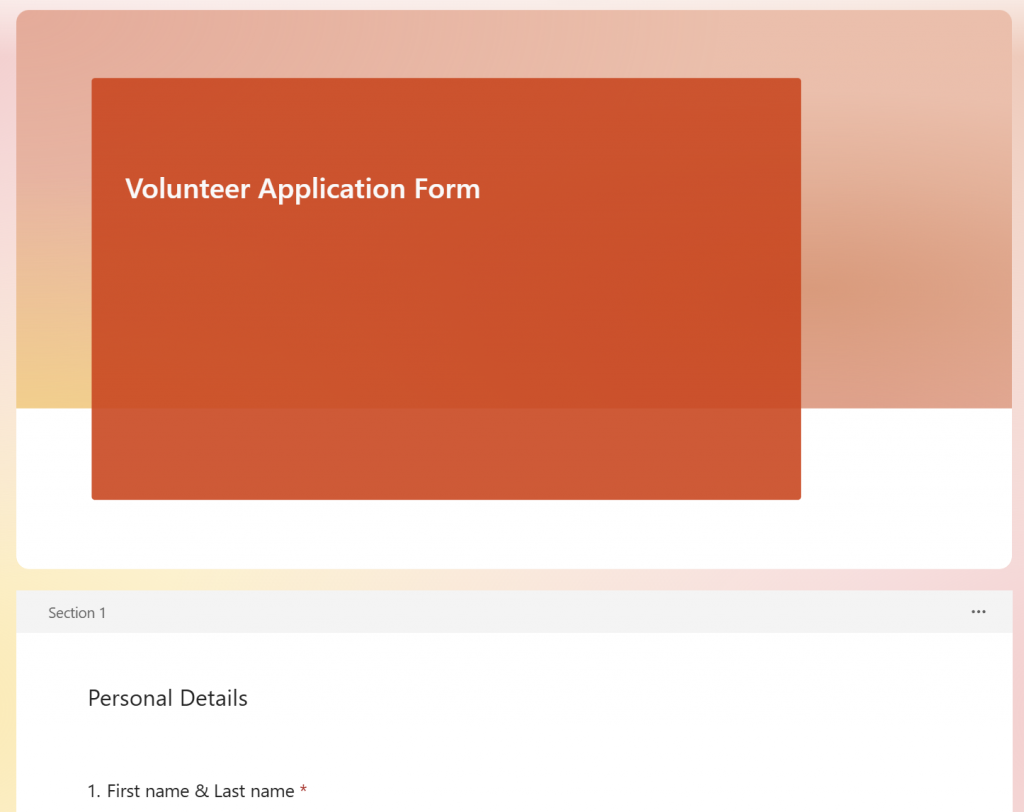
3. Add the relevant fields / sections to the form with the information you wish to collect (If you would like more details on the form itself, please drop me a message).
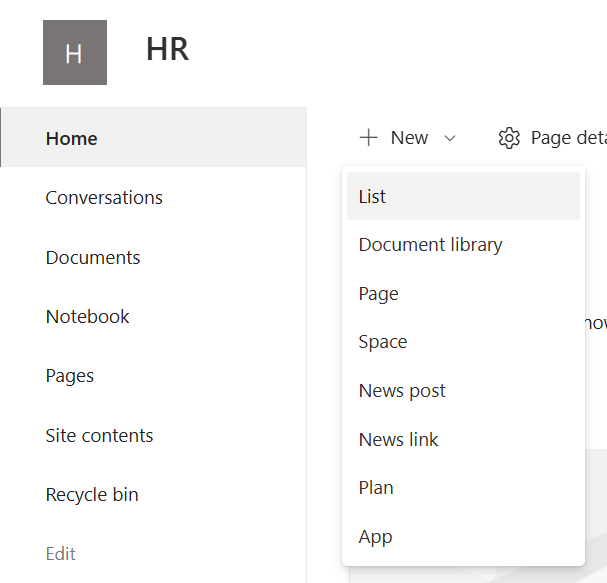
4. Once you are happy with the Form, the list will now need to be created. I have chosen to create my list in the HR sharepoint site, browse to the SharePoint site and select New, followed by selecting List.
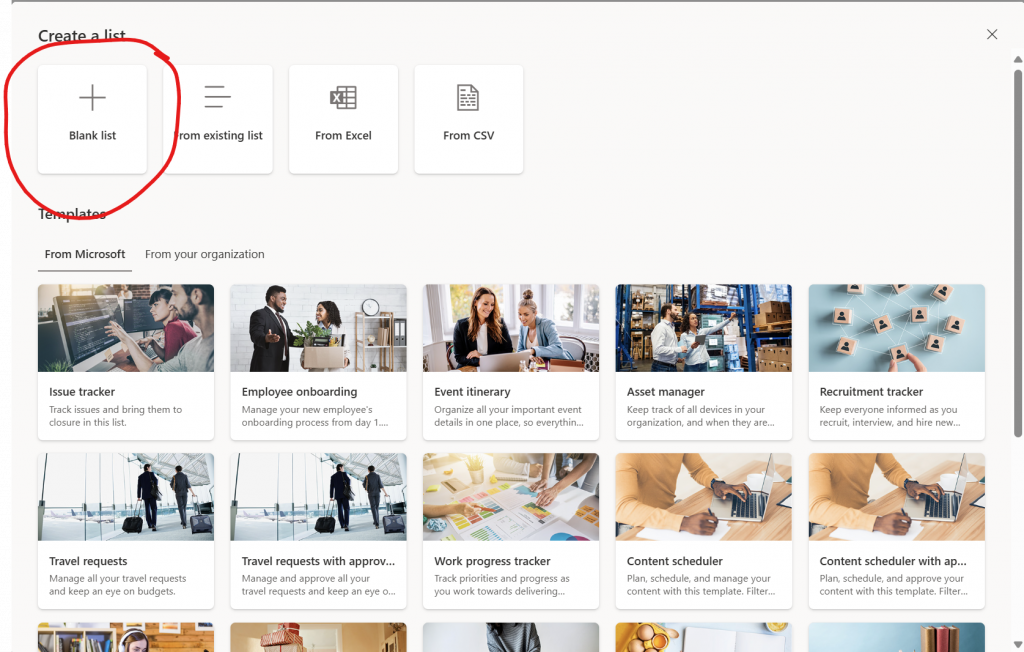
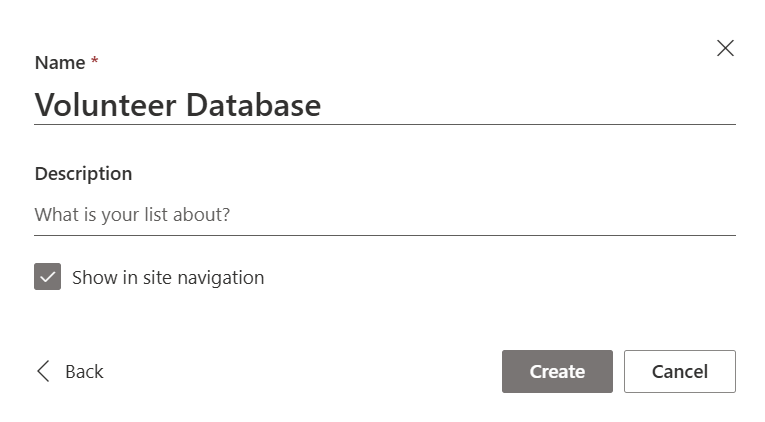
5. Select Blank list.
6. Enter a name for your SharePoint list, followed by selecting Create.
7. Add the relevant columns, matching with the form fields, you will be able to add further columns which can help you manage the volunteers but for the purpose of this blog I will just be using the same fields I have in my form.

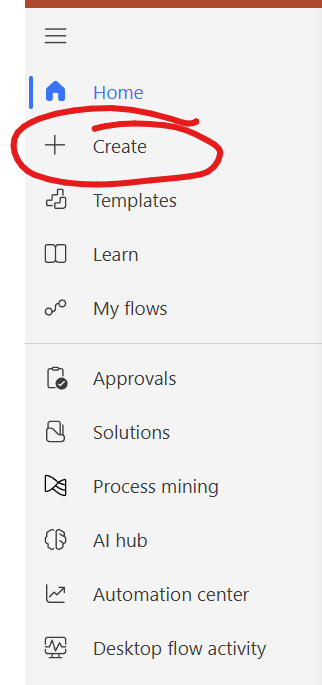
8. Now for the fun part, the creation of the automation. Browse to https://make.powerautomate.com/, followed by selecting the Create button which can be found on the left hand menu.
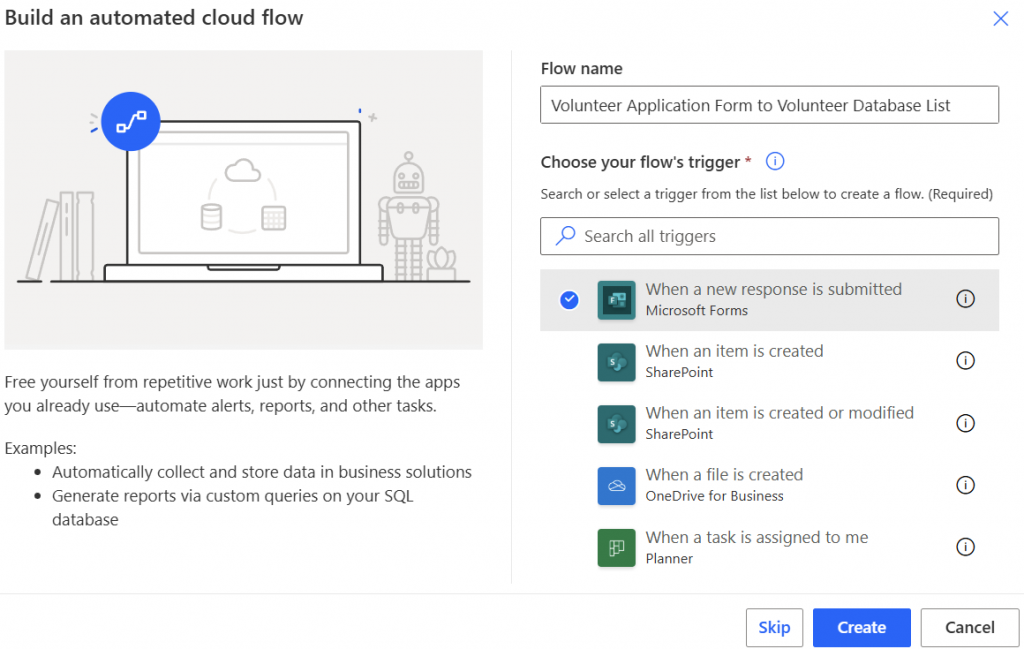
9. Select Automated cloud flow. You can use a template, but I always prefer to start from blank.

10. Enter a sensible name for the Flow, followed by selecting the trigger for the flow (This will initate what sets the flow to start), this will be “When a new response is submitted”. Once you are happy, select Create.
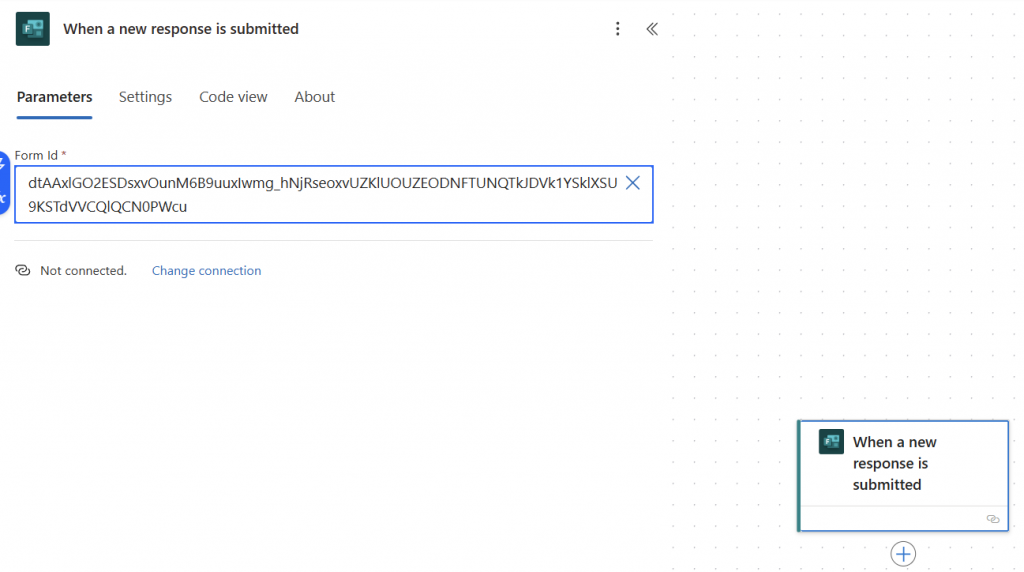
11. Browse back to your form tab and copy the ID which you can find in the url after “id=”

12. Copy the ID into the form ID of the first action in the Automate Flow.
13. Under the first action, select the + symbol to add a new action.

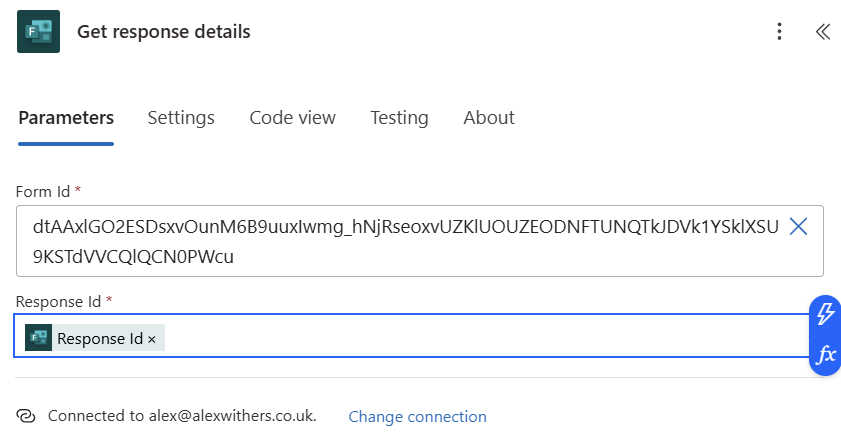
14. In the search box, stop typing “get re”, and select the Get response details under Microsoft Forms.

15. Copy the Form Id into the Form Id field, followed by selecting the lightening symbol when selecting the response Id field, and select the Response Id from the Microsoft Form.
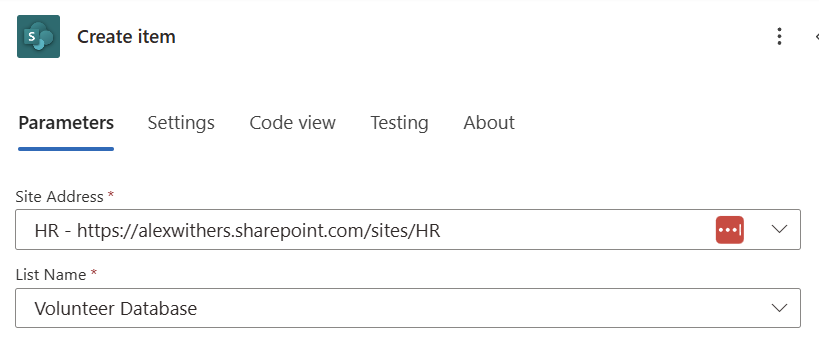
16. Select the + symbol again underneath the “Get response details” action, enter create in the select box and select Create item under SharePoint.

17. Select the SharePoint site address where your list is stored and then select the List name from the list.
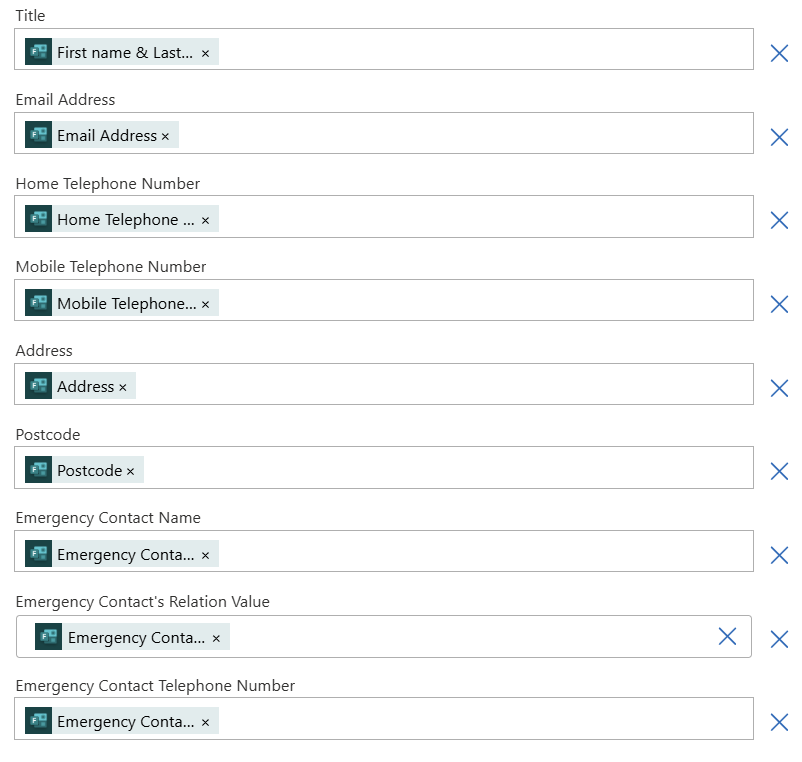
18. On each of the SharePoint columns, select the lightening symbol and selecting the matching Microsoft Form response.
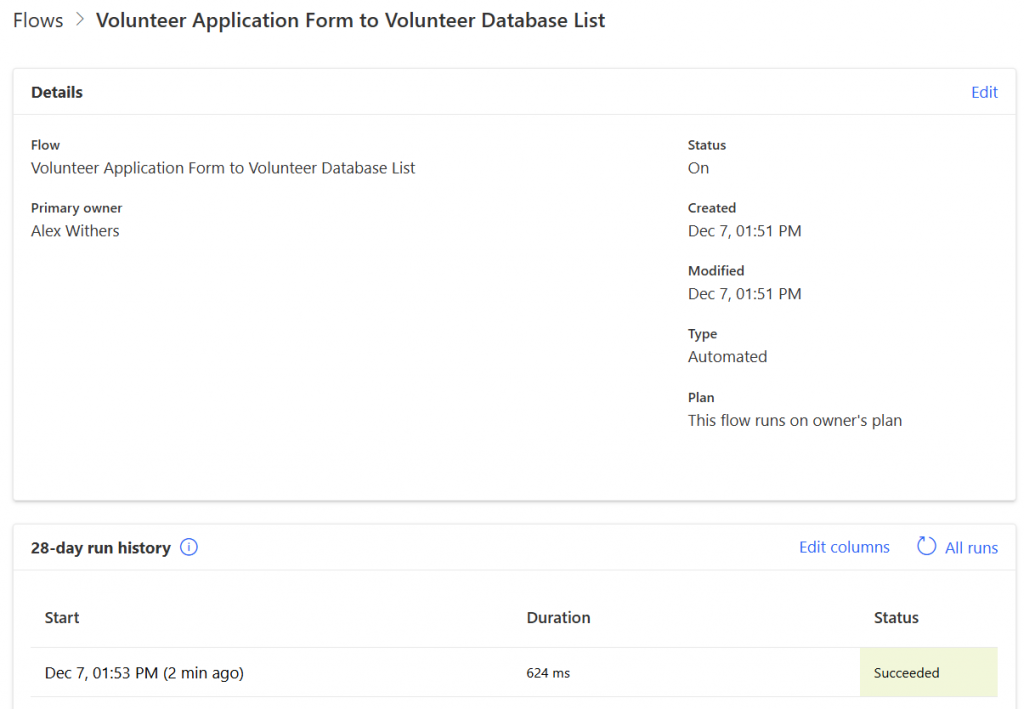
19. Select Save, you can now test the automation works by completing the form.

When the form is completed, if the automation runs successfully you will find your data added to your SharePoint list.

You can now go on to create further automation such as adding an action to send a message into Teams when a new volunteer is added.
Comments are closed